准备工作
- Pycharm
- webpack
- python 3
- npm
- Vue CLI https://cli.vuejs.org/zh/guide/
- postgresql
npm install -g webpack
npm install -g @vue/cli
npm install -g @vue/cli-service-global
创建Django项目
django-admin startproject ServerList创建成功后的目录如下
.
├── manage.py
└── pc_admin
    ├── __init__.py
    ├── settings.py
    ├── urls.py
    └── wsgi.py
进入项目根目录,创建一个APP作为项目后端
cd ServerList
python manage.py startapp backend //backend乃App名称
成功后目录如下
.
├── backend
│   ├── __init__.py
│   ├── admin.py
│   ├── migrations
│   │   └── __init__.py
│   ├── models.py
│   ├── tests.py
│   └── views.py
├── manage.py
└── ServerList
    ├── __init__.py
    ├── settings.py
    ├── urls.py
    └── wsgi.py
创建前端项目
使用vue-cli在根目录创建一个frontend的Vue.js项目作为项目前端。
# 创建项目
vue create frontend

# Project setup
npm install

# Compiles and hot-reloads for development
npm run serve

# Compiles and minifies for production
npm run build

# Run your tests
npm run test

# Lints and fixes files
npm run lint
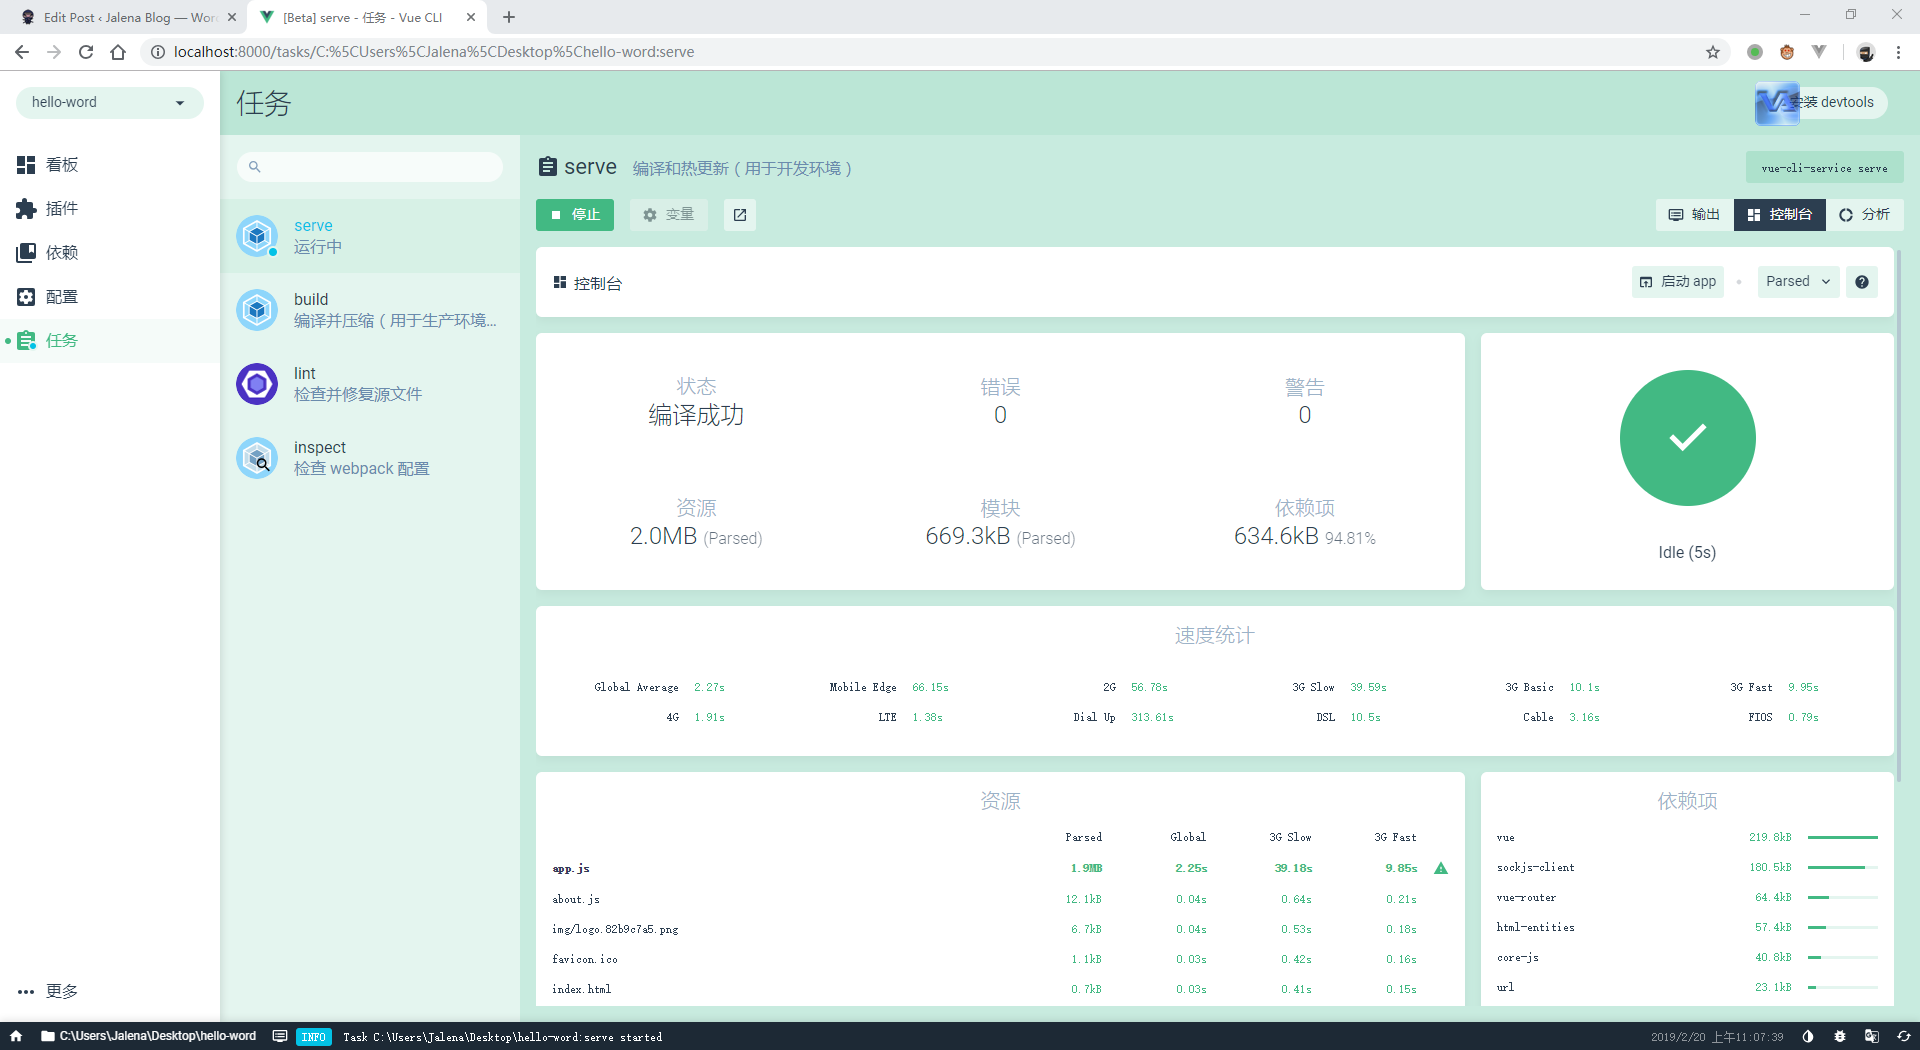
如果你确实不想使用命令行来处理这些事情,那么你可以使用Vue提供的图形化界面来创建和管理项目。
vue ui配置数据源及前端模板
# 数据库设定
DATABASES = {
    'default': {
        # 'ENGINE': 'django.db.backends.sqlite3',
        # 'NAME': os.path.join(BASE_DIR, 'db.sqlite3'),
        'ENGINE': 'django.db.backends.postgresql',
        'NAME': 'odam',
        'USER': 'postgres',
        'PASSWORD': 'postgres',
        'HOST': '127.0.0.1',
        'PORT': '5432'
    }
}
# 模版设定
TEMPLATES = [
{
'BACKEND': 'django.template.backends.django.DjangoTemplates',
# 'DIRS': [os.path.join(BASE_DIR, 'templates')],
'DIRS': ['frontend/dist'],
'APP_DIRS': True,
'OPTIONS': {
'context_processors': [
'django.template.context_processors.debug',
'django.template.context_processors.request',
'django.contrib.auth.context_processors.auth',
'django.contrib.messages.context_processors.messages',
],
},
},
]
# Add for Vue.js
STATICFILES_DIRS = [
os.path.join(BASE_DIR, "frontend/dist/static"),
]结束
python manage.py runserver

文章评论